Pages

Front Porch Makeovers For Summer 2013 From BHG

 By bringing inside style outside, they prepared a pretty porch perfect for warm weather get togethers.


Fresh paint, bold fabrics, soft rugs, and furniture that's easy to arrange and rearrange make this L-shape porch a great space for parties and family gatherings. For flexibility, select lightweight furnishings that would work just as well inside the house.


A fabric that contained a touch of the house's brick hue along with citrus green, gray, pink, and terra-cotta inspired the porch's color palette. Gray served as the dominant color for the floor and curtains, with citrus-green accents. The fresh palette splashes dashes of fun onto throw pillows.


Create a look-at-me door with oversize zinc house numbers bold enough to be seen from the street. Window film featuring bold circles adds privacy to the door and obscures a direct view into the living and dining rooms. A coat of spunky citrus-green paint freshens the entry.


A narrow desk on casters rests against one wall and is used as a sideboard on most days. Painted citrus green, this desk adds personality and functionality to the porch. Roll it in front of the bench and it offers fine dining for two. Pull up the chairs and stools spread around the porch, and it's party time.


Sections of tree trunk serve as handy side tables or stools and add a rustic touch to the outside room. Four swivel casters on the bottom of each log make them easy to move. Add cushions for seating comfort.


Add a swinging bench to the side area of the porch for a more private gathering space. For durability, use exterior primers and paints on furniture -- porch-and-floor enamel is a dependable option. Make curtains and pillows from indoor/outdoor fabrics to prevent wear and weathering.

HGTV Dream Home 2014 : Front Yard Pictures

About the Front Yard: 

Built in the style of New Mountain architecture, this home offers a modern twist on the traditional mountain house. A steeply-pitched roofline, cedar siding and ample stonework give it classic rustic charm, while large windows, exposed structural beams and minimalist landscaping make it thoroughly modern.


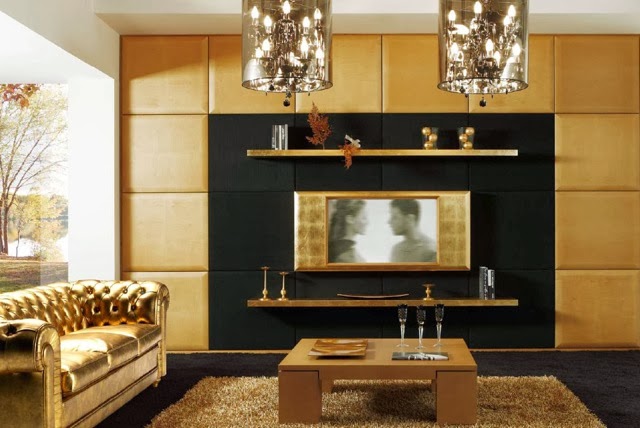
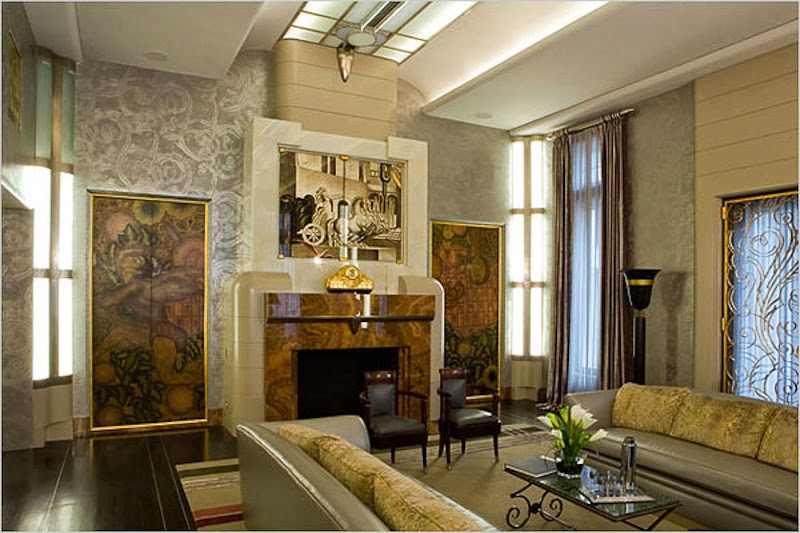
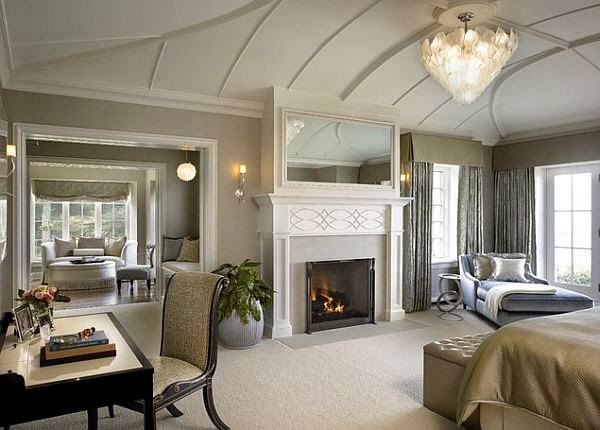
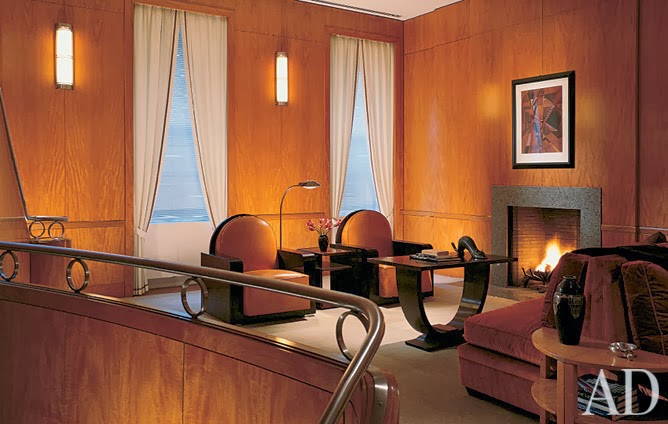
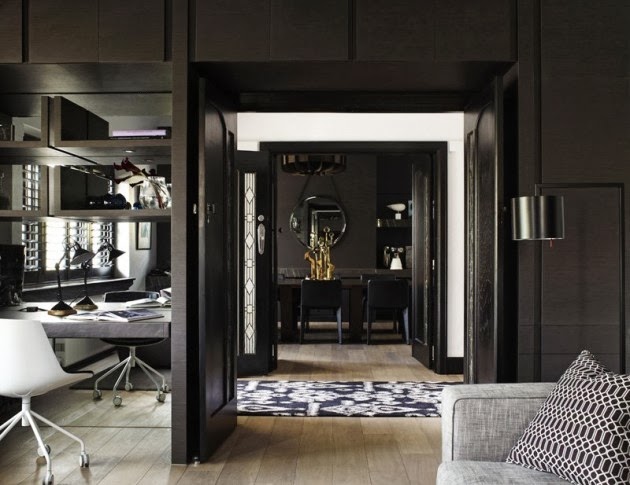
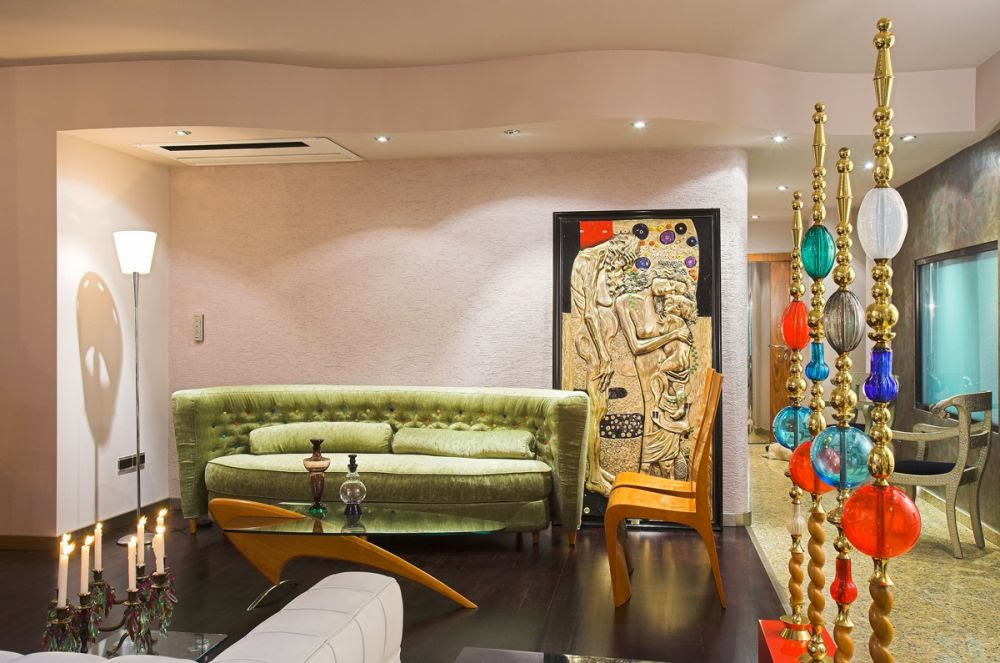
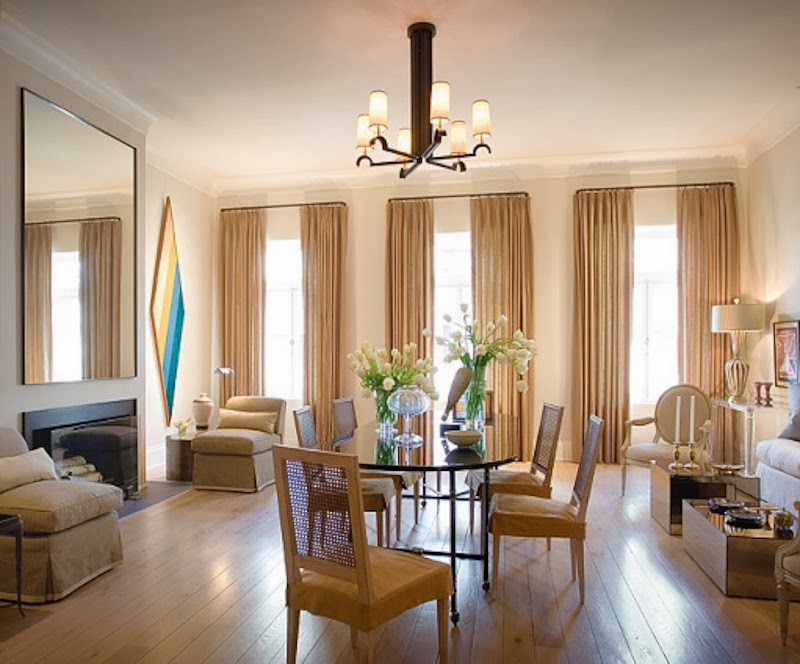
Art Deco Interior Design

Art Deco Interior Design

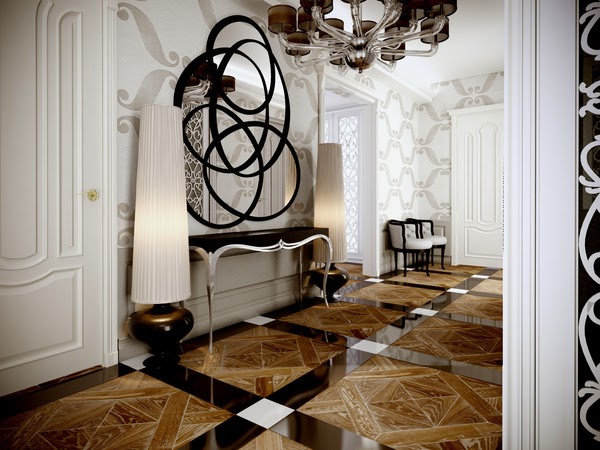
Sometimes, when people decide they want to get serious about decorating their homes, the choose a particular artistic style or period to use as a model. Styles come and go as the years pass, but there is one particular style that gained prominence during the first half of the twentieth century which has stood up well to the test of time. In the twentieth century, art deco took the artistic world by storm during the latter half of the roaring twenties through the 1930s. Although there was a brief period when it lost its popularity, art deco interior design is back in favor with people today.

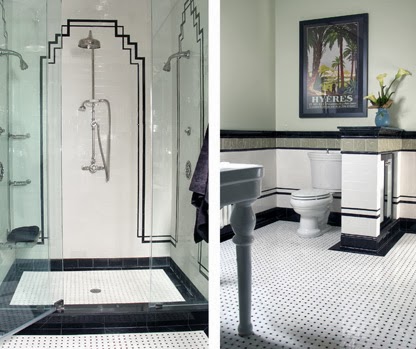
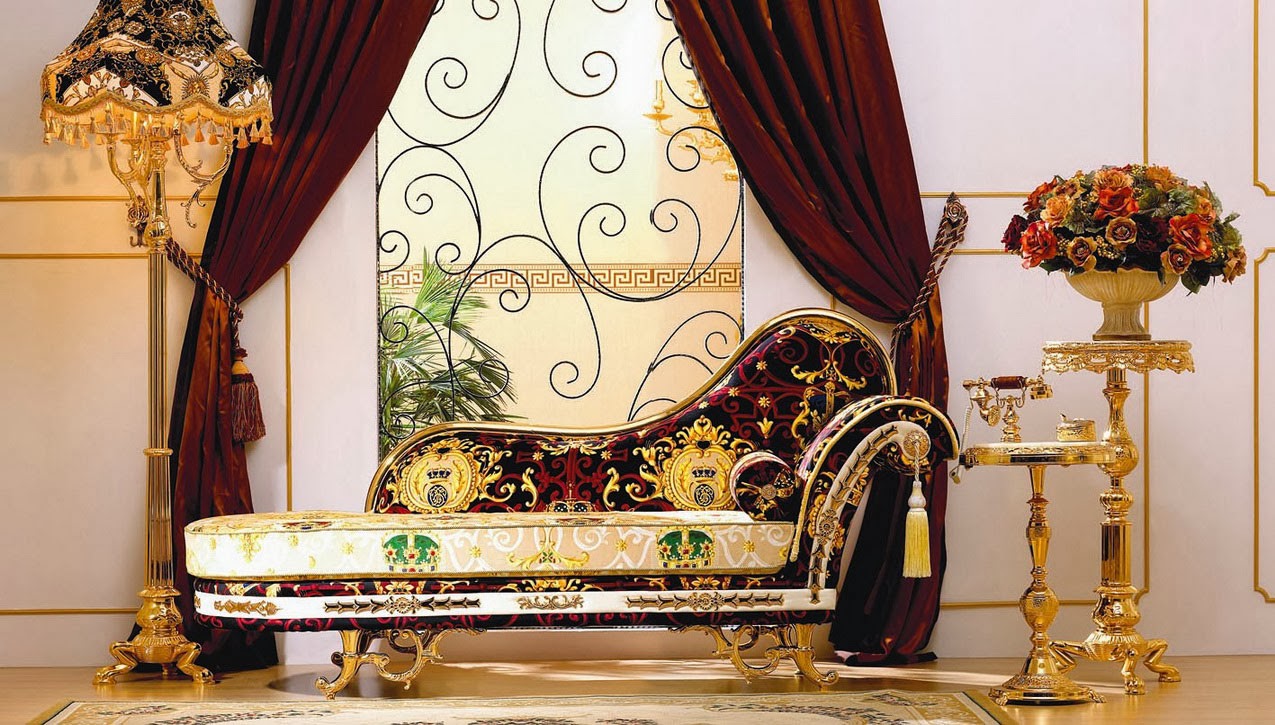
Volumes have been written about this movement and its effect on popular culture. Examples of the style can be found everywhere from train station architecture to advertising. People decorate in the style by using posters, paintings and prints representative of the period. This is a style of luxury and opulence. Clean geometric lines, bright chrome and offbeat materials that were sometimes quite expensive to work with, made it stand out in contrast to the styles that had come before it. The early examples of this style featured black and white zebra stripe styles, but this later evolved to include more colors.

Art Deco Interior Design

Art Deco Interior Design

Art Deco Interior Design

Art Deco Interior Design

Art Deco Interior Design

Art Deco Interior Design

Art Deco Interior Design

Art Deco Interior Design

Art Deco Interior Design

Art Deco Interior Design

Art Deco Interior Design

Art Deco Interior Design

Art Deco Interior Design

Art Deco Interior Design

Art Deco Interior Design

Art Deco Interior Design

Fresh Your Home With Easy Fabric Projects 2013 Ideas

Give your home decor a fresh look with this quick and easy fabric projects .
Get inspired by this ideas . I hope that you will find it useful for you ... Enjoy it !!


Breathe new life into a boring lampshade or cafe curtain with iron on transfers. Try a collage approach, as shown on the lampshade, or print the same pattern several times to create a repeat, as shown on the cafe curtain.


A collection of comfy pillows creates a tempting curl up-and relax spot. Re-create this ivory pillow by cutting a wool sweater or throw to the desired size and stitching it into a pillow cover. To prevent raveling, use a no-fray product on the edges after cutting the sweater. Insert a pillow form and hand-stitch the cover closed.


This cozy rug made from old T-shirts looks right at home in any room. Cut canvas backing into a circle. Fold edge of canvas circle under 1 inch.
With a heavy-duty needle in sewing machine and settings adjusted for heavyweight fabric, sew folded edge. Cut T-shirts into 2-inch-wide strips that are 6 inches long. Fold T-shirt strips in half lengthwise so each measures 1x6 inches. Place center of a 1x6-inch strip on canvas edge.
Sew across center of strip.
Without removing canvas from sewing machine, abut a second 1x6-inch strip against the first.
Sew across center of second strip. Continue adding and sewing strips to canvas edge until edge is covered. Continue sewing strips in concentric rings until canvas is covered. Shake rug and hand-brush strips outward.


Transport dinner guests to a coastal retreat with a table setting anchored by these pretty napkins. To get the look, combine fabric paint and water until the mixture achieves a watery consistency.
Use the paint mixture and a flat brush to paint stripes across white napkins. The color should bleed slightly to achieve a watercolor-like appearance once the paint mixture dries.


Transform an ordinary canvas slipcover with one (or more!) of these creative ideas. From a yard of colorful patterned fabric, you can fashion a seat cushion, a simple band to embellish the bottom of the slipcover, and a flower where the ties meet in the back of the chair.

To re-create the monogram, print out a letter in the font and size of your choice. Press the slipcover. Place slipcover on a work surface with a piece of cardboard between the layers. Position dressmaker's carbon paper on the slipcover according to manufacturer's instructions. Place the monogram on top of the carbon paper and use a pencil to trace it. Use a paint marker in the color of your choice to paint the monogram. Use the paint marker to embellish the perimeter of the monogram. Let dry.


The pretty petals adorning this lampshade add texture and dimension. To do it yourself, dip-dye bits of unbleached canvas drop cloth in the color(s) of your choice.
Cut 2- to 3-inch-diameter circles from the dyed cloth, fold the circles, and glue the folded circles to a lampshade. Give the shade an ombré effect by placing petals with the most saturated colors on the bottom and working your way up to the top of the shade with ever-lighter hues.


Showcase and store your favorite magazines in fabric pockets. For one fabric pocket, cover a piece of plywood with upholstery-weight linen fabric.
Fold a second piece of the same fabric and use a staple gun to secure it to the fabric-covered plywood for the pocket. Frame the piece with wood trim attached with wood glue and pin nails.
To embellish the piece, tuck ephemera, like this cute owl postcard, under the frame or clip pretty cards to the pocket edge.


Boost the style of plain glass vessels by slipping them into something more comfortable. Stretch a piece of felted sweater around the vessel, right side in. Pin for a snug fit, then remove and sew where pinned. Cut off the excess, then turn it right side out. Add embellishments, such as buttons and fabric florets, to provide texture and dimension.


A few scraps of fabric are all you need to create this three-dimensional effect. The grassy design is a fanciful layering of felt and cotton scraps that were cut into grass-blade shapes.
The first two layers are secured with fabric glue.
A single line of stitching down the middle of the top layer creates blades with a breezy texture.


When used as stamps, veggies such as celery, cabbage, and bok choy produce pretty floral shapes. Two celery stamps gave this once plain-Jane seat cover oodles of style.
To make a celery stamp, cut a celery bunch 2–3 inches from the end, then wrap tape around the end to hold the stalks together. Let the taped celery sit for 20 minutes.
Pour paint onto a paper plate.
Use a small paintbrush to paint the cut ends of the celery. To stamp, firmly press the painted ends onto the fabric seat cover, then remove them without sliding. Rpeat as needed to create your desired motif. Let dry.


Make use of old fabric scraps to create artwork that's reminiscent of a vintage quilt. Cut fabric into varying-size square or rectangular pieces. 
Lay out the pieces on a blank canvas. 
Cut and add additional squares and rectangles until you're happy with the design. 
Starting in a corner, lift a shape and apply decoupage medium to the canvas beneath it. 
Press the fabric firmly onto the canvas. Repeat for the remaining pieces. Let dry for at least 2 hours.


2014 Kids' Storage Ideas from HGTV

By : H. Camille Smith


Let's face it: Kids are natural collectors. So, it only makes sense to give them somewhere to stylishly display their stuff. Designer Susie Fougerousse suggests: "Every child's room should be equipped with a sturdy bookshelf for displaying treasures, books, pictures and more. Selecting a basic style in a neutral color will allow the parents maximum versatility for use over the long term. As the child grows, the uses and consequently the look of the shelf will naturally adapt to the child's changing needs."


"Functional and stylish storage is an essential element to consider when decorating a child's room," says designer Susie Fougerousse. "If the room allows for it and your budget permits, a bookcase with doors or drawers is a classy way to enhance the look of the room while providing valuable storage for odds and ends."


Older kids need storage, too. Designer Sarah Richardson adds a handy feature to this young man's bedroom: a fabric pouch positioned just below the mattress. This pouch is the perfect place for stashing comic books, handheld games or every teen's must-have techie devices.


Corral kids' clutter in colorful boxes. Designer Sherri Blum recommends these because, "small toys, hair accessories, craft supplies and more can be easily tucked away in these neat boxes readily available at craft stores." Bonus: a customizable paper label so you'll always know what the box contains.


This hyper-organized (and downright cute!) little girl's closet can easily be transitioned into a big girl's closet as her storage needs change. Image courtesy of the Container Store.


Designer Susie Fougerousse is a big believer in having a good mix of permanent and transportable storage solutions in a child's room. Her Tip: "Portable storage containers such as painted wooden crates or metal bins that can be personalized are a stylish option for children of all ages. With an endless array of colors, patterns, fonts and shapes to choose from, these storage containers are a cool and decorative addition to any room."


Designer Sarah Richardson turns a sleigh bed into a daybed in her vacation cottage. Perfect for small visitors, this corner is an inviting spot for reading a favorite book or catching an afternoon nap. Slipcovered ottomans with removable lids offer plenty of storage for small guests' toys.


Built-in bookcases add handy storage and display space for boyhood treasures while an aviation theme and queen-size bed will work for many years to come. Design by RMSer thriftydecorchick.


Clear kitchen canisters look (and work!) great as dresser-top storage for kids' favorite small toys. When they're past the crayon-and-army-men stage, the same containers can be used for storing hair accessories, belts or art supplies. Design by Holly Mathis.


Reclaim square footage for baby's playtime with vertical storage. Designer Sherri Blum says, "Built-in wall units are especially helpful in small spaces; a single wall with built-ins can replace toy boxes, bookcases, desks and trunks to create a room that is more open and clutter free."